

0·
3 days agoNot really once it’s finished. If anything, it might make it harder to saturate with finish.
If I had some teak, I’d give it a shot. In the meantime I’ll provide updates once I start playing with walnut, ebony and rosewood.
Not really once it’s finished. If anything, it might make it harder to saturate with finish.
If I had some teak, I’d give it a shot. In the meantime I’ll provide updates once I start playing with walnut, ebony and rosewood.
As mentioned in a previous comment, I’m running a full batch right now. I don’t have anything with finish on it, but there is a proof of concept buried in this thread somewhere.
Agreed. Stainless lasts forever, but with proper care you should be able to keep these ones around for decades. Just stick to handwashing and throw on a new coat of mineral oil every year or so.
I’m starting with flame and birdseye maple, but I’ve got some walnut, ebony, and rosewood that I’m planning to process next.
Absolutely! I’m running a batch right now, so I don’t have anything that’s been finished. Here’s the proof of concept. 


Drew up a prototype and worked backwards.
Probably an hour or two of head scratching.
Tools are just tools. The “right” ones will make your work quick, but you can always make the “wrong” ones work if you’re patient and clever.
Start by getting it home and acclimating.
Let it sit in the environment you plan on working it for a minimum of 2 weeks (I’d suggest 6+ if you can swing it.)
Remove the bark first, if you plan on storing it inside. If not, debark it after your acclimation period.
Run it through a bandsaw to sort of square an edge, but beware that a round log will spin if you’re not careful. A simple clamping sled can offer a bit of peace of mind. Trim off your exposed end grain to help prevent splitting.
This is where you’d bake it, if you have access to a kiln.
Keep in mind that as you cut/cook your workpieces you’ll release some internal stress grown into the tree. Oversize your cuts and be prepared for your boards to cup/curl.
Sneak up on your final dimensions and don’t be afraid to let things sit if it still seems too wet.
And most importantly, share your progress with the community so we can enjoy the adventure too 😉
Yuck. That sucks.
I hate to say it, but your best bet is probably to strip it and try again. I’d agree that it looks like some residual sealer/glue is preventing your stain to penetrate.
Out of curiosity, what are you using for stain?
Haha I’ve been doing that for over a decade
I try to be a little choosier these days
I’ll wax the ends for you 😉
Each top comes with a sound hole cutout
I appreciate the concern.
The only plywood in the pile is the stand itself. Everything else is spruce, mahogany, redwood, and rosewood.
What you’re probably seeing is quartering.
Admittedly, there is a single scrap hanging out in the background that broke off, but that’s not getting burned. I’m just too lazy to throw it out
Come grab them! All yours!
Eventually you just run out of space
They’re free if you feel like making a trip to New England
I would argue that most things are bad to breathe when burned
I try to whenever possible. We make 2-3 boxes a week plus whatever we make at the sawmill.
Waste management could be a fulltime job that our small team doesn’t have the bandwidth to handle.
I do what I can, but some times you just need to make space
You’re probably seeing the locating tabs we use for machining
Flattop acoustic guitar cutoffs
Mostly tops
Handful of backs
Ahh the good old marquetry approach. I dig it.
Feel free to DM me if there is anything else I might be able to help with.
Good luck!


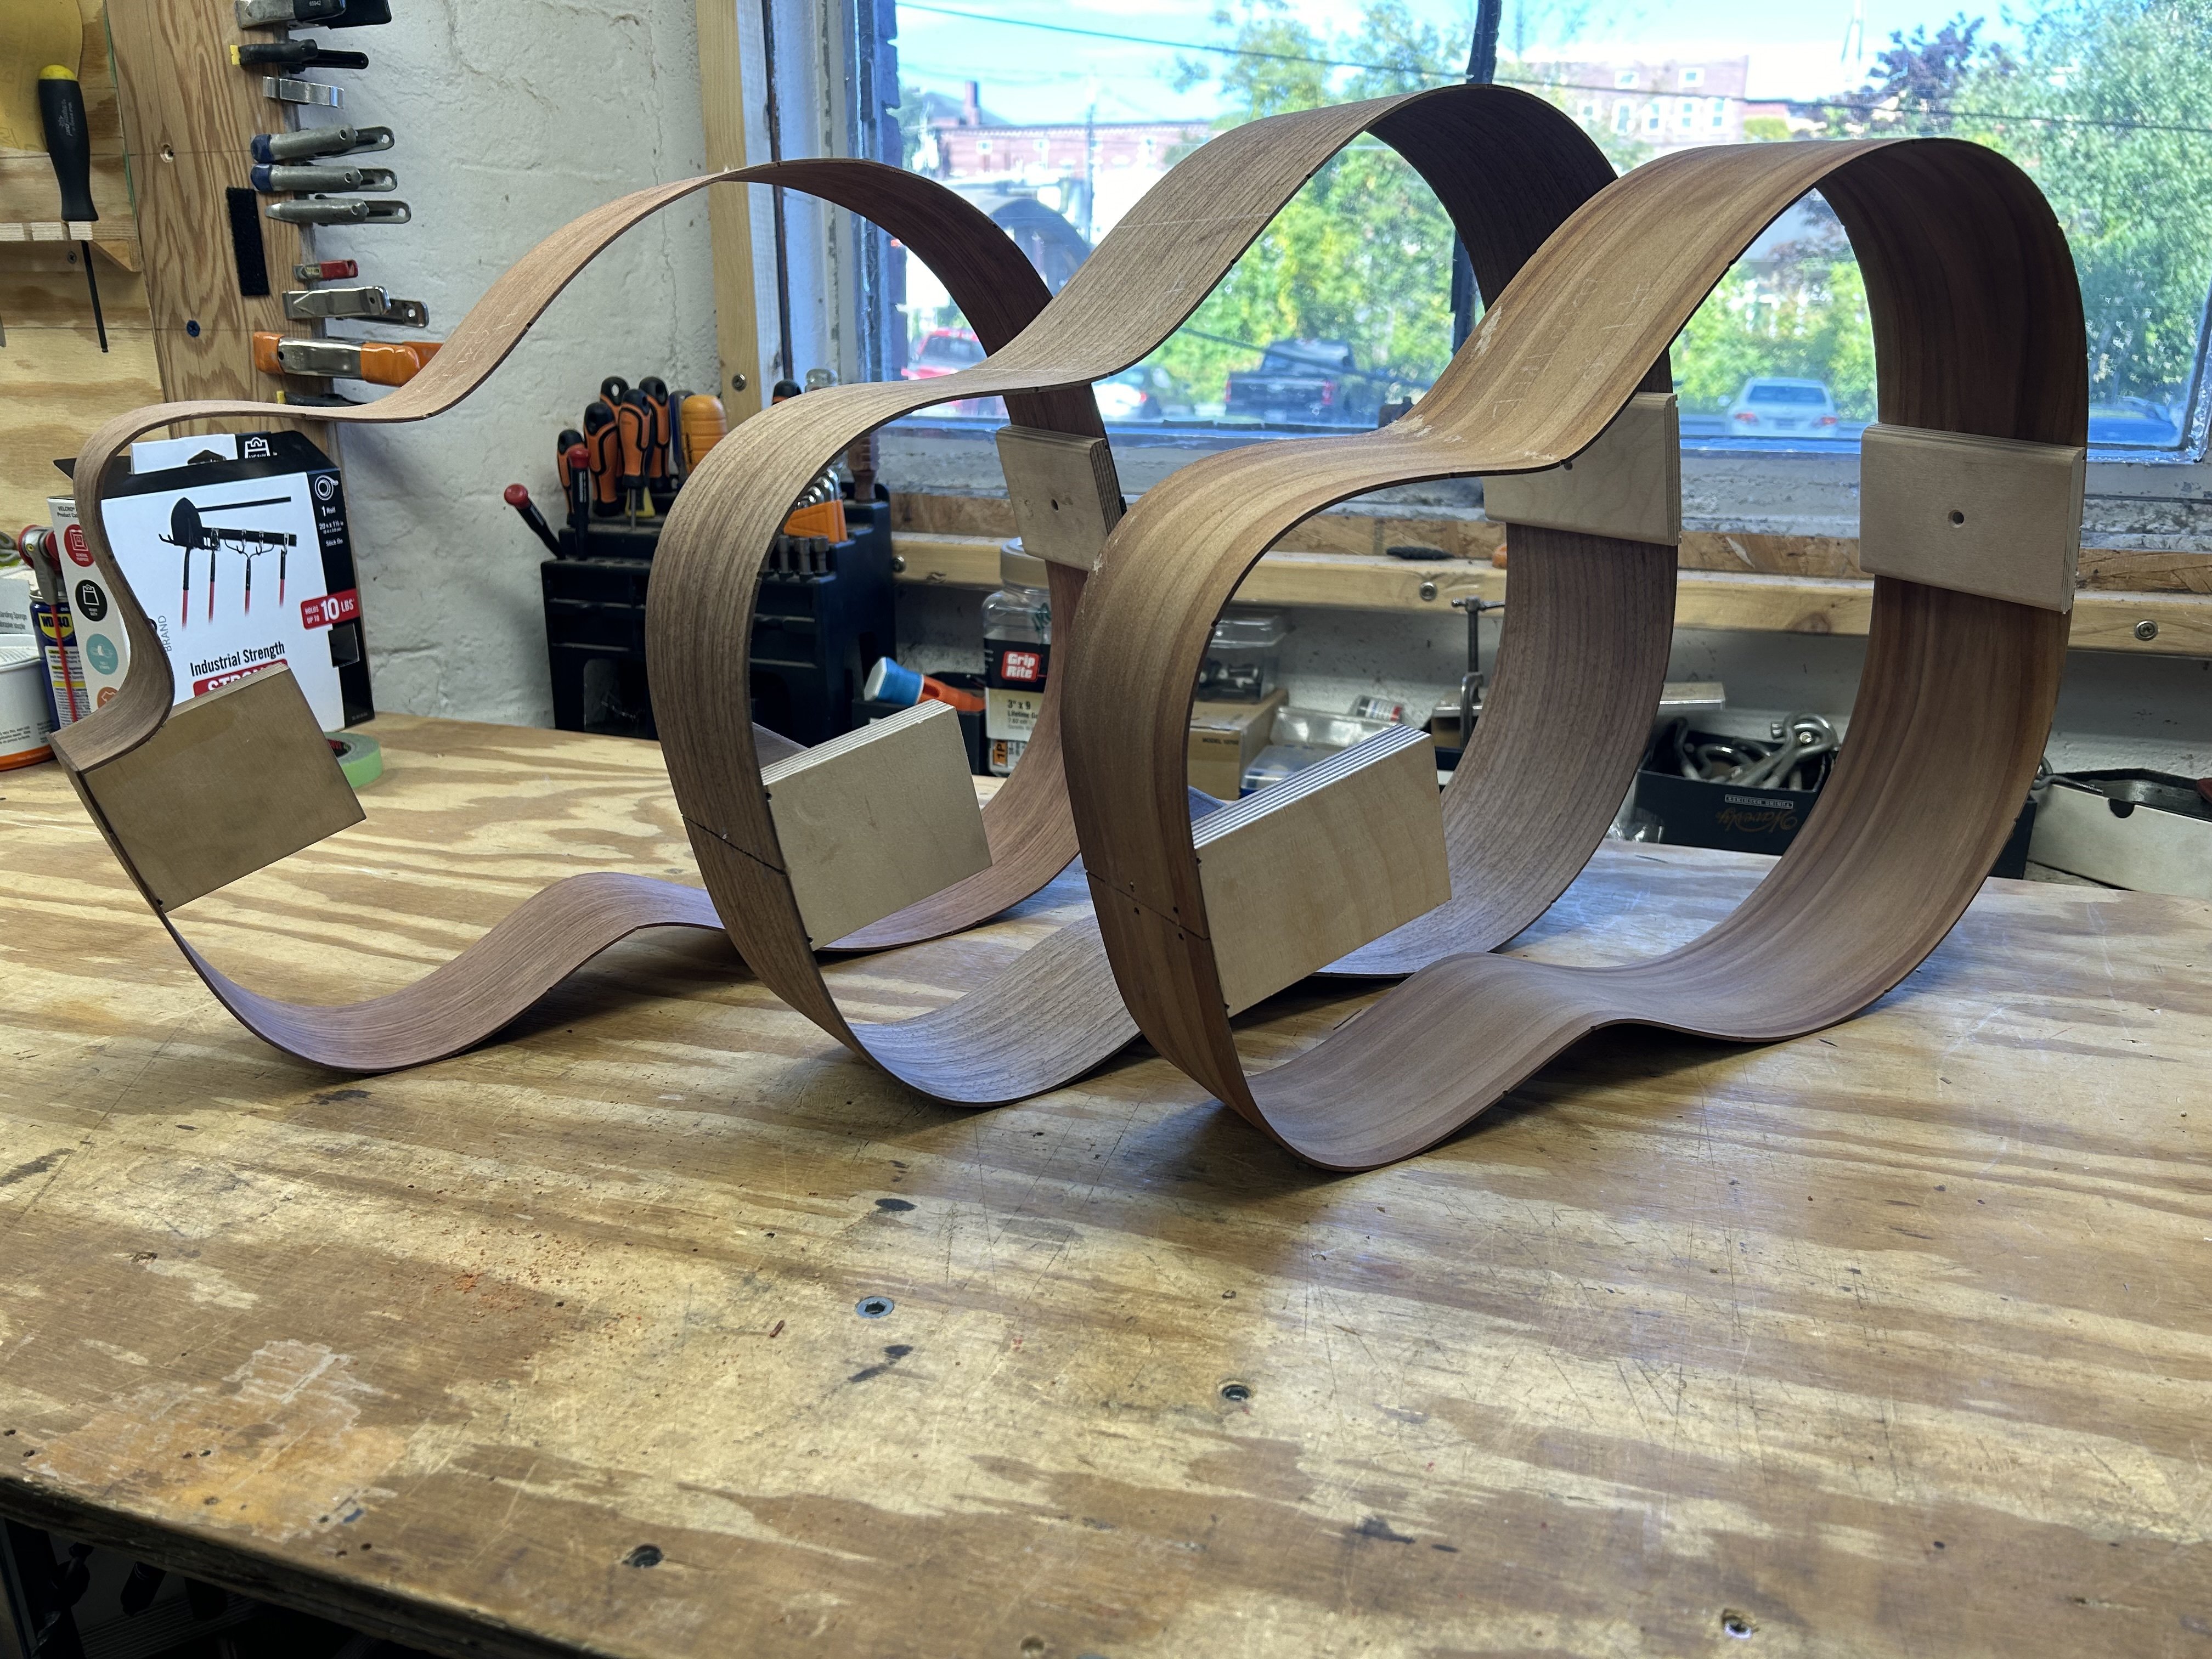
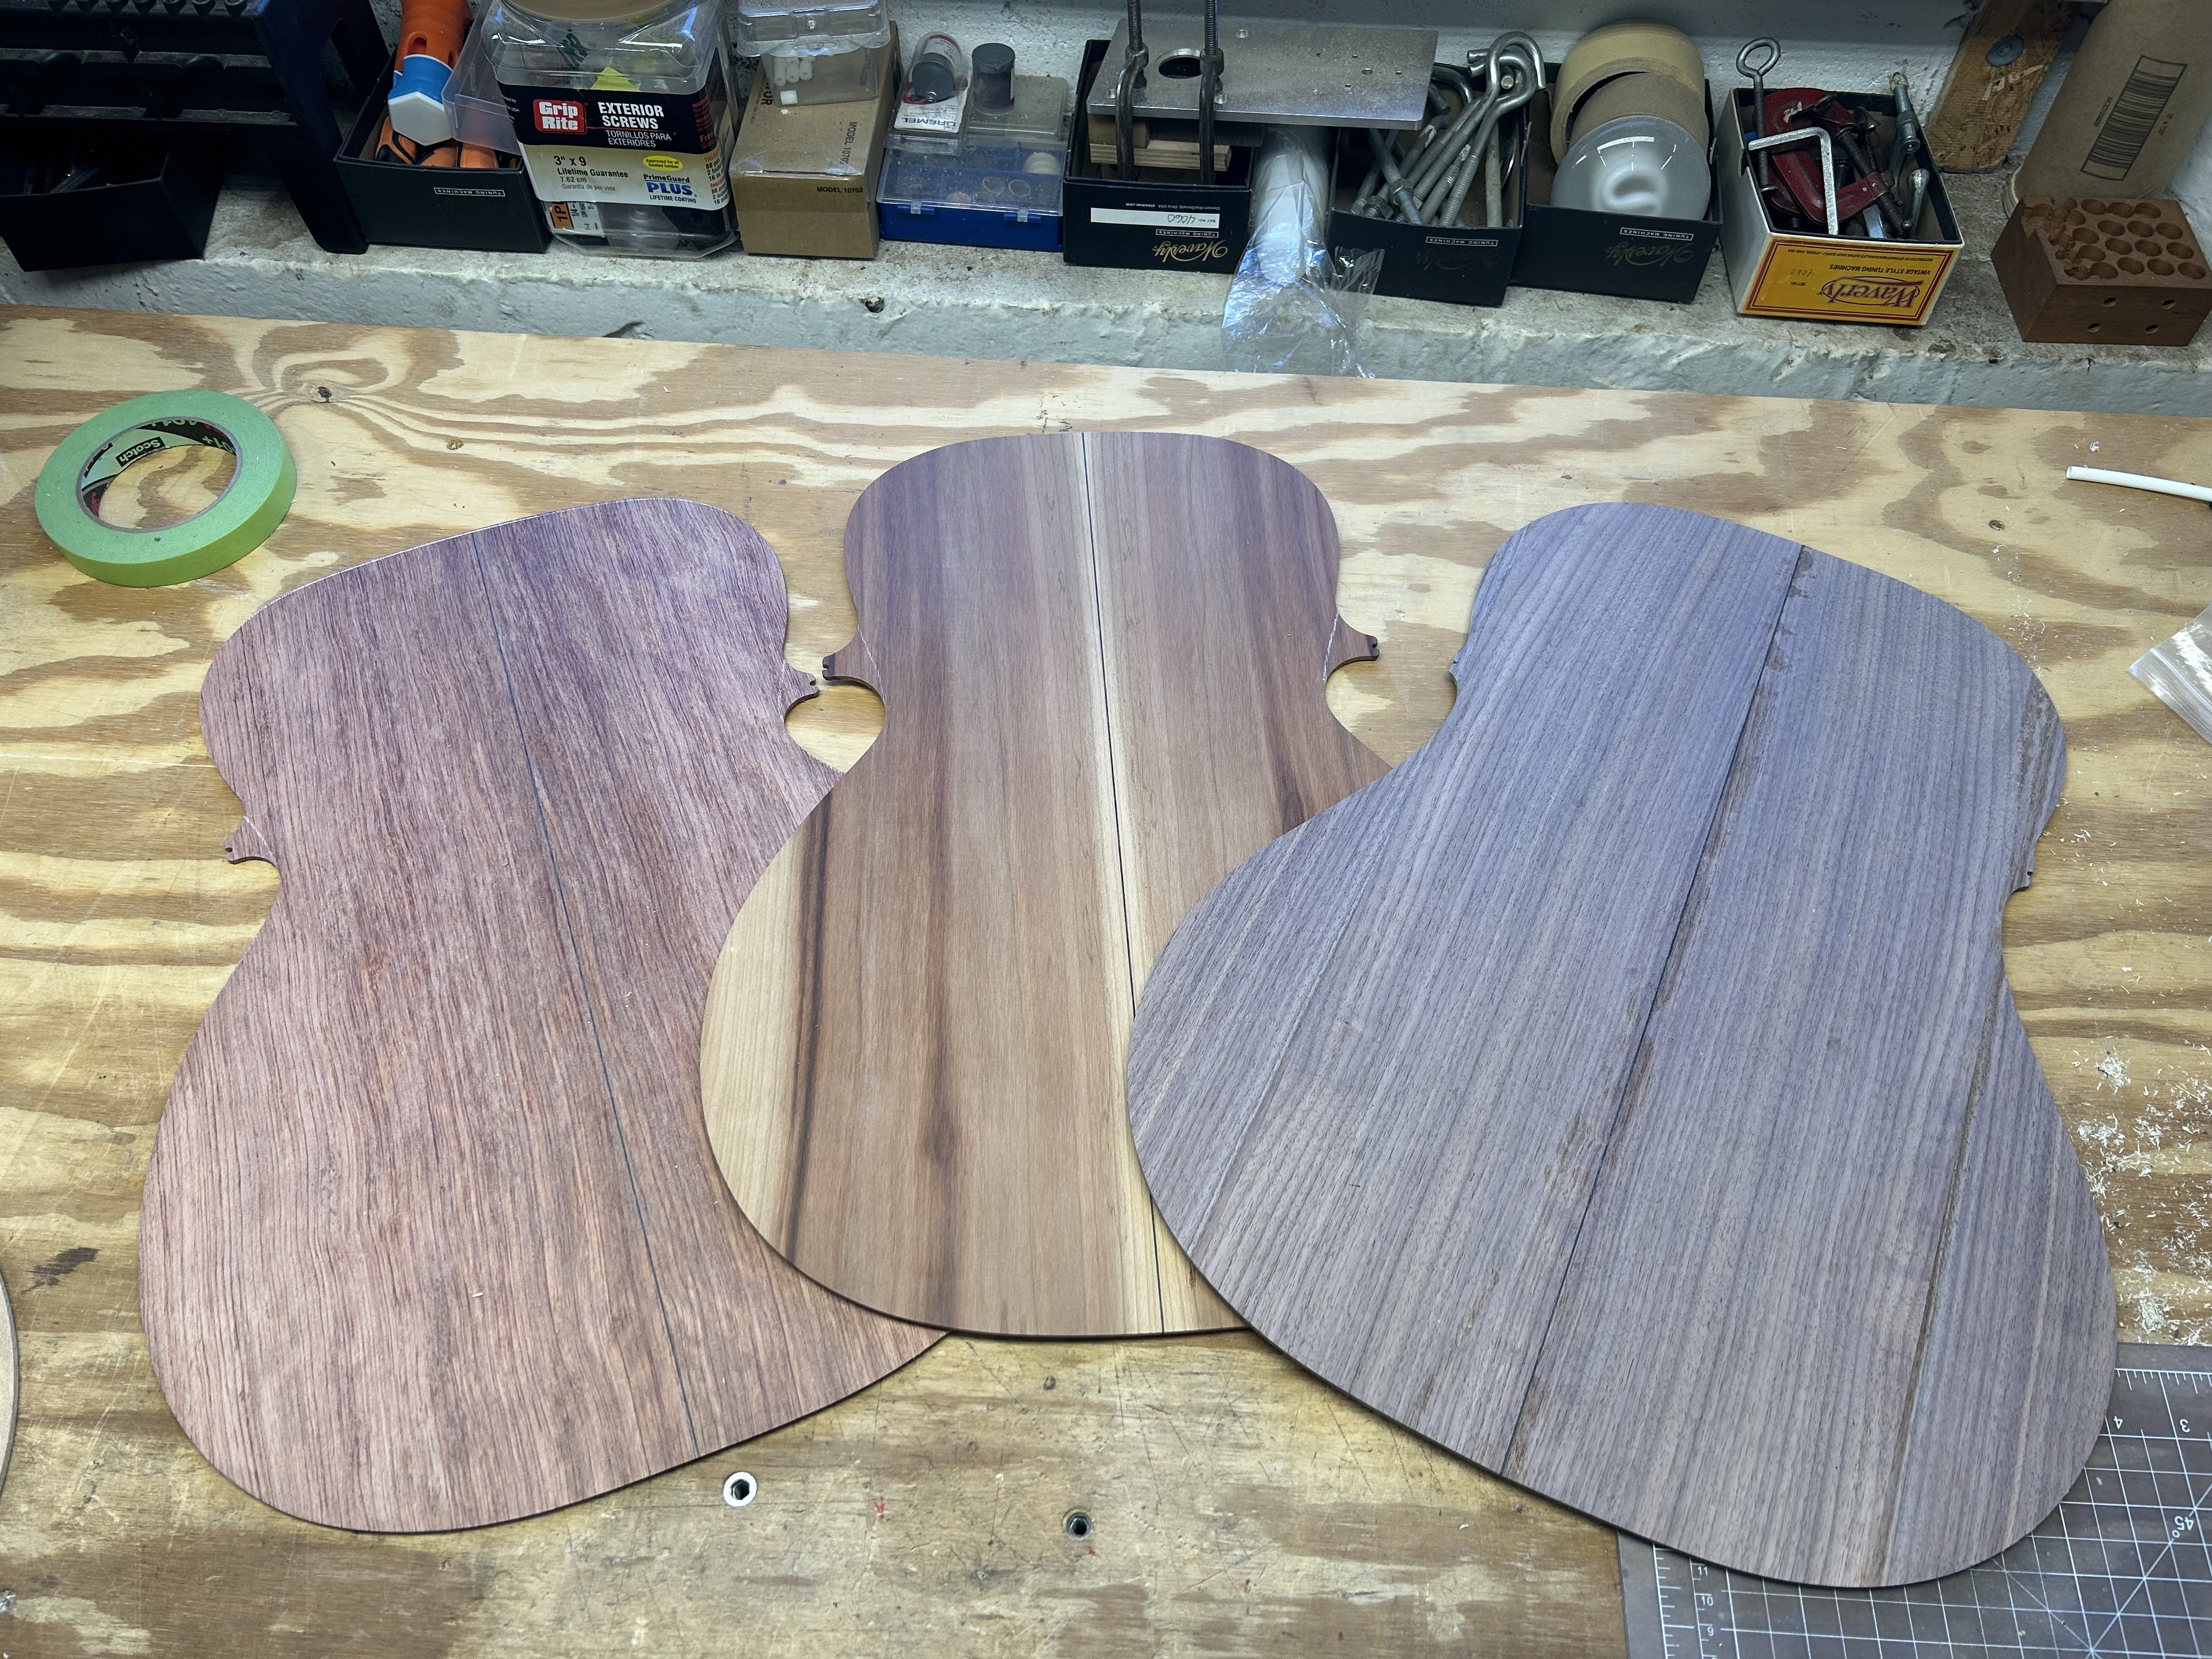
Yeah that’s a bit extreme. I think I spent a total of $15 for this project, but I also already had the majority of my tools. Having access to a CNC also made my life quite a bit easier.